Ever walked out of a salon with curls that looked like they’d been attacked by static cling… only to find them limp and frizzy two weeks later? You’re not alone. In fact, nearly 68% of chemical hair treatments result in some degree of damage when improperly executed—especially perms. But what if you knew exactly what happens during the hair perm process, from molecule to mirror?
In this post, I’m pulling back the curtain (and my curling gloves) to give you a stylist-grade walkthrough of how perms actually work, why some last while others fizzle out faster than a TikTok trend, and—most importantly—how to avoid becoming another perm horror story. You’ll learn:
- How the chemistry behind perms reshapes your strands
- The exact step-by-step timeline (including processing times that shock most clients)
- Real talk about damage risks—and how to minimize them
- My biggest perm fail (yes, it involved coconut oil and regret)
Table of Contents
- Why Do So Many Hair Perms Go Wrong?
- The Real Hair Perm Process: Step by Step
- 7 Best Practices for Curls That Don’t Quit
- Case Study: From Fried to Fabulous (Without the Breakage)
- Hair Perm Process FAQs
Key Takeaways
- The hair perm process uses alkaline or acidic chemicals to break and reform disulfide bonds in keratin.
- Processing time isn’t one-size-fits-all—it depends on hair type, condition, and perm formula (typically 10–20 minutes).
- Neutralizing is non-negotiable; skipping it = frizz city.
- Pre-perm conditioning and post-perm sulfate-free care are make-or-break for longevity and health.
- Not all hair can safely hold a perm—fine, bleached, or highly porous strands need extra caution.
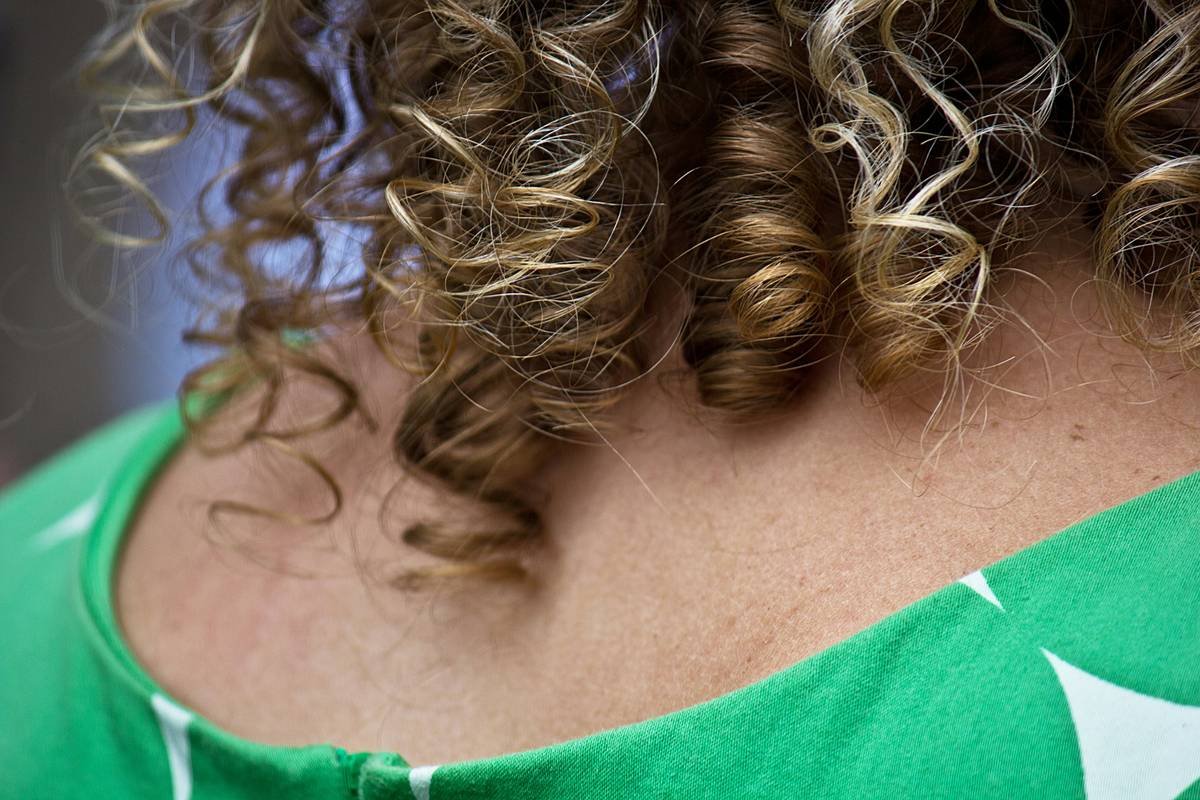
Why Do So Many Hair Perms Go Wrong?
Let’s be real: the word “perm” still carries baggage from the ’80s—think helmet hair, crunchy texture, and strands snapping off like dry spaghetti. But modern perms? They’re sleeker, softer, and customizable. So why do so many people end up with sad, droopy spirals instead of bouncy, defined curls?
Because most folks (and yes, even some stylists) treat perms like magic potions rather than precise chemical procedures. Perming isn’t just winding hair around rods and waiting. It’s restructuring your hair’s protein backbone—specifically, breaking and reforming disulfide bonds in keratin using reducing agents like ammonium thioglycolate (alkaline perms) or glyceryl monothioglycolate (acid perms).
If your stylist doesn’t assess your hair’s porosity, elasticity, or prior chemical history—or worse, rushes the neutralizing step—you’re basically handing your strands over to entropy.
And here’s my confessional fail: I once gave a client—bless her heart—a spiral perm two weeks after she’d done a full bleach-and-tone. Thought I was being “edgy.” Result? Her hair shed like a husky in July. Lesson learned: perm readiness isn’t optional—it’s biology.
The Real Hair Perm Process: Step by Step
Alright, Grumpy You—put down the lukewarm coffee. Optimist You already knows this’ll be worth it. Let’s walk through the actual hair perm process as it should happen in a professional setting.
Step 1: Consultation & Strand Test
No perm should begin without evaluating your hair’s baseline health. A good stylist checks for:
- Prior chemical treatments (color, relaxers, keratin)
- Porosity (high porosity = faster chemical absorption = higher breakage risk)
- Elasticity (healthy hair stretches; compromised hair snaps)
A strand test—applying perm solution to a small section—determines ideal processing time. Skipping this? Red flag.
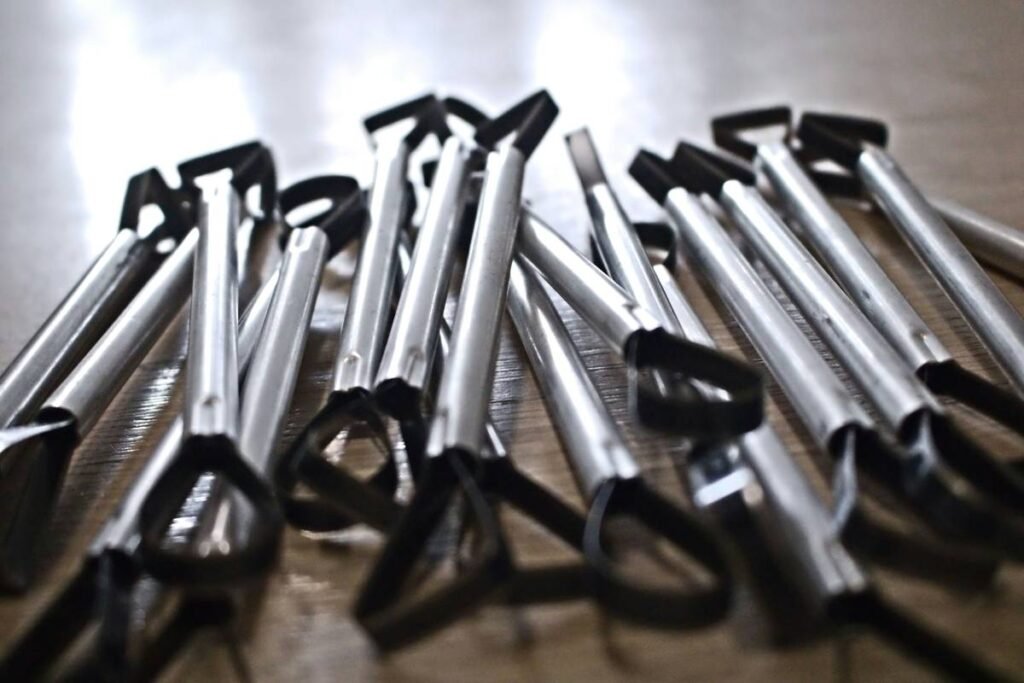
Step 2: Sectioning & Rod Selection
Hair is divided into panels, then wrapped around rods. Rod size dictates curl diameter: smaller rods = tighter curls. Direction matters too—spiral vs. body wave vs. root volume perms use different wrapping techniques.
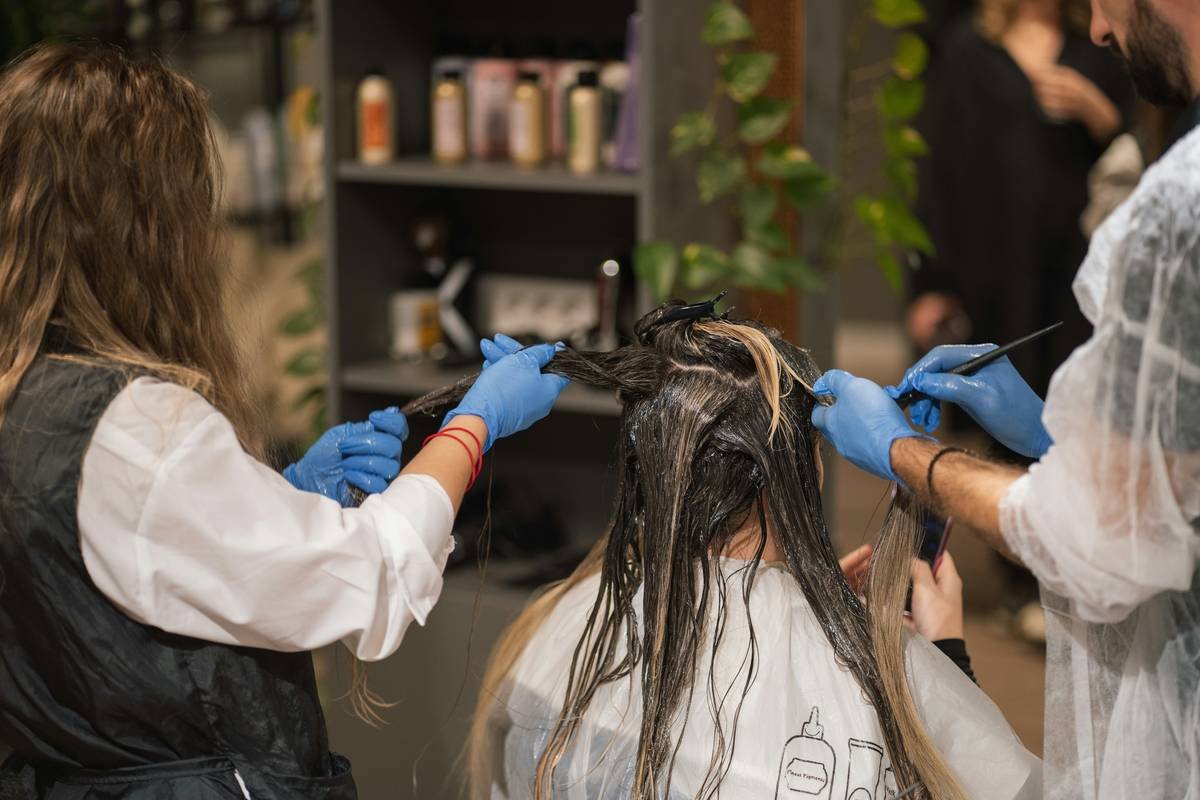
Step 3: Applying the Perm Solution
This is where the magic (science) happens. The reducing agent penetrates the cortex, breaking disulfide bonds. Processing time varies:
- Fine/damaged hair: 8–12 minutes
- Medium/normal hair: 12–18 minutes
- Coarse/resistant hair: 15–20+ minutes
Timing is critical. Under-process = no curl. Over-process = mush.
Step 4: Rinsing & Neutralizing
After rinsing, a neutralizer (usually hydrogen peroxide-based) is applied. This re-forms the disulfide bonds in their new curled configuration. Neutralizing typically takes 5–10 minutes—but never skip it. Without it, bonds stay broken, leading to weak, frizzy hair that won’t hold shape.
Step 5: Conditioning & Drying
A deep conditioning treatment seals the cuticle and restores moisture. Then, hair air-dries *without manipulation*—no brushing, scrunching, or heat for 48 hours. Touching it too soon distorts the set.
7 Best Practices for Curls That Don’t Quit
Want your perm to last 3–6 months without turning into a frizz tornado? Do these:
- Wait 7–10 days post-color before perming (unless it’s same-day with compatible formulas—ask your stylist).
- Use sulfate-free, low-pH shampoos to preserve curl structure and prevent cuticle lifting.
- Deep condition weekly with proteins (like hydrolyzed wheat protein) and emollients (like shea butter).
- Avoid heat styling for 72 hours post-perm—heat disrupts newly formed bonds.
- Sleep on silk or satin to reduce friction-induced frizz.
- Don’t wash daily—overwashing strips natural oils your curls need.
- Trim every 8–10 weeks to prevent split ends from traveling up the shaft.
Grumpy You: “Ugh, fine—but only if my conditioner smells like vanilla bean.”
Optimist You: “Chef’s kiss. Your future self will thank you.”
Terrible Tip Alert ⚠️
“Just DIY it with a box perm from Amazon!” Nope. At-home kits often lack pH balance, timing guidance, and neutralizer precision. The FDA warns that improper perm use can cause severe scalp burns or irreversible hair loss. Not worth the $25 “savings.”
Case Study: From Fried to Fabulous (Without the Breakage)
Last year, a client came to me after three failed at-home perm attempts. Her hair: bleached platinum, high porosity, mid-length, with visible breakage at the crown. Goal: soft, face-framing waves—not tight corkscrews.
We took a conservative approach:
- Used an acid perm (gentler, lower pH = less swelling = less stress on fragile strands)
- Selected large-diameter rods for loose waves
- Limited processing to 10 minutes with constant strand checks
- Applied a bond-building additive (like Olaplex No.1) mixed into the perm solution
- Followed with a 20-minute protein-moisture mask
Result? Defined, shiny waves that lasted 14 weeks—with zero additional breakage. She’s now a perm convert (and sends me latte pics monthly).
Hair Perm Process FAQs
How long does the hair perm process take?
Typically 1.5 to 2.5 hours, depending on hair length, density, and perm type.
Can you perm colored or bleached hair?
Yes—but only if it’s in good condition. Acid perms are safer for chemically treated hair. Always consult a pro first.
Does a perm damage your hair?
Any chemical service alters hair structure. However, with proper technique and aftercare, damage can be minimized—even avoided in healthy hair.
How soon can you wash your hair after a perm?
Wait at least 48 hours. Water and manipulation can distort the curl pattern before bonds fully set.
Will my perm loosen over time?
Yes—naturally. As new growth emerges and the perm grows out, curls relax slightly. That’s normal.
Conclusion
The hair perm process isn’t sorcery—it’s science, artistry, and respect for your hair’s biology. Done right, it delivers effortless texture that lasts months. Done wrong? You’re shopping for hats. Arm yourself with knowledge, choose an experienced stylist, and commit to aftercare. Your curls (and your confidence) will thrive.
And hey—if your perm ever starts looking more “static ghost” than “beach goddess,” don’t panic. Deep conditioning, gentle handling, and a skilled stylist can often rescue it.
Like a flip phone circa 2003: sometimes old-school is exactly what we need to feel fresh again.